Miter 3D
The «Miter 3D 
Activate the „Miter 3D“ tool and move the cursor to the edge that should be mitered. The corresponding edge is highlighted. Press the left mouse button.
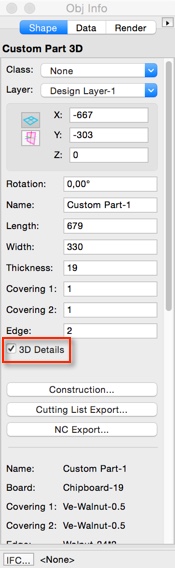
The object properties dialog opens where you can set the following parameters:
- Angle of the miter (Angle)
- Distance to the start of the miter along the edge (Insert Start)
- Distance from the end of miter along the edge (Insert End)

Enter the desired values in the corresponding input fields and confirm with „OK“ to create the miter.
Note: You can call up the „Object Properties“ dialog at any time via the method bar.

Miter 3D (Line) tool
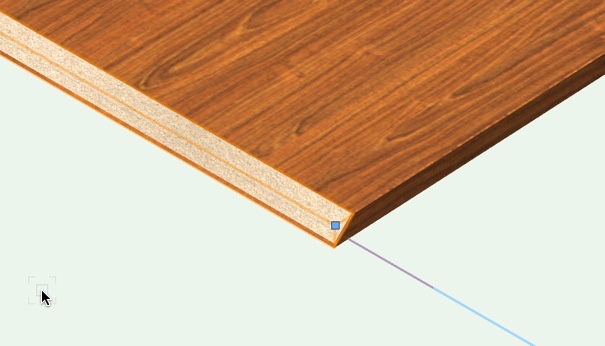
Alternatively, miters can be created on a custom part using 'the line-based method „Miter 3D (Line)“.
You can select the „Miter 3D (Line)“ tool by holding down the left mouse button a little longer on the „Miter 3D“ tool in the „interiorcad“ tool palette.

Choose the „Object Properties“ of the tool as usual via the method bar and enter the miter square. Proceed with OK and draw a small line parallel to the edge that should be mitered.

The miter will be resized to the full length of the edge automatically. You can use the Mirror tool to miter the other edges.