Creating custom exports
To configure your own exports without programming, for example cutting lists in the „.csv“ format, choose «interiorcad > Exports > Custom Exports Admin...». The „Custom Exports..." window opens.
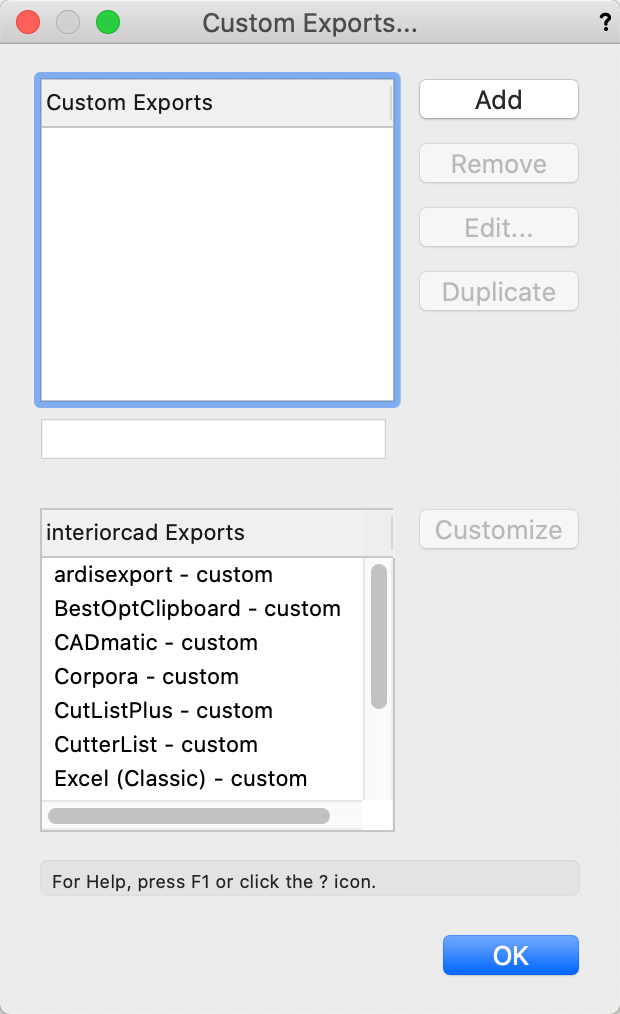
You have two options to create an export:
1. interiorcad Exports
In the „interiorcad Exports" field at the bottom you will find a list of all available customizable exports. These templates can be used for your own customized exports.
Select a desired export template and press the „Customize" button. The selected export will now be displayed in the „Custom Exports" field above.
Change the name for this export in the input field below. 
With the edit buttons next to the „Custom Exports" field you also have the possibility to „Remove”, „Edit” and „Duplicate” your created lists.
2. Custom Exports
In the upper field you can directly create your own new export with the „Add" button. Enter a name for your new export. With the edit buttons next to the „Custom Exports" field you also have the possibility to „Remove”, „Edit” and „Duplicate” your created lists. To edit an export, select a created list of your choice and press the "Edit" button. The "Custom Export Editor" window opens.
Editing of the custom export
With the "Custom Export Editor" you can easily configure the fields of the export to be created by using the "Add" button and other settings.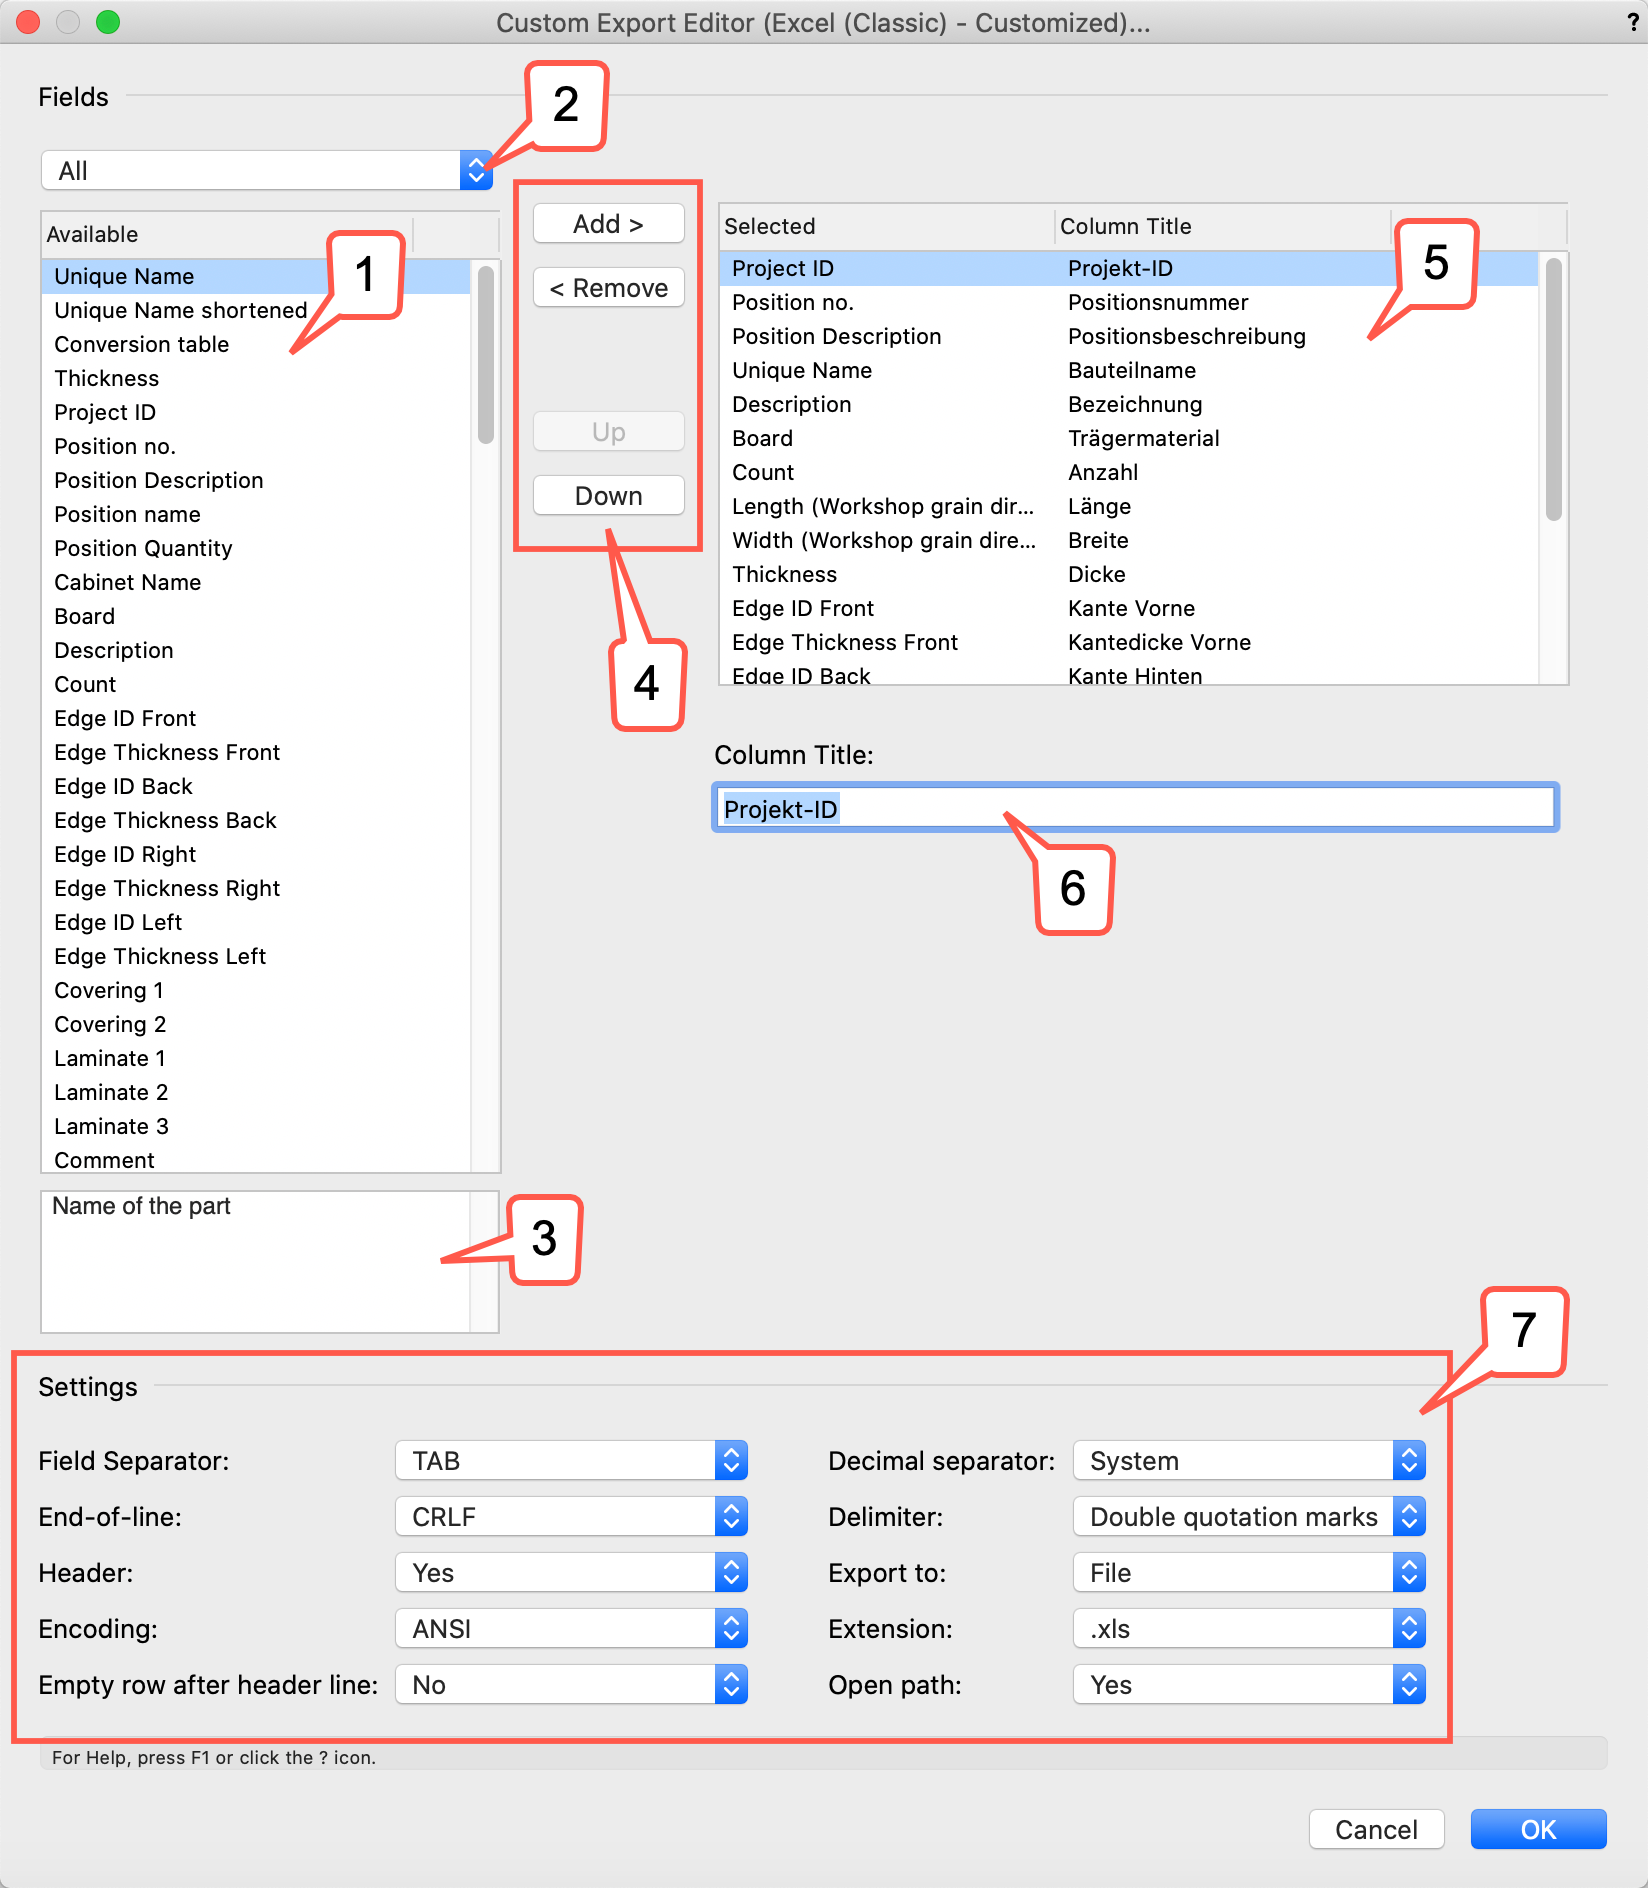
(1) In the upper left part of the window you find a list of all available output fields.
(2) The output fields can be pre-filtered according to main categories using the drop-down menu (2) above.
(3) If you click on any output field within the list, a short description will appear in the area below (3).
(4) Using the edit buttons (4) you can now compose the export according to your needs.
First select an output field of your choice. Use the „Add >“ button to insert this field into your export. The selected field will now appear on the right side of the list (5) as „Selected field“.
Repeat this process until you have compiled the export of your choice.
Use the „< Remove“ button to remove Selected Fields if required.
Use the „Up“ and „Down“ buttons to adjust the order of the selected fields.
(5) Your export consisting of the selected fields is listed here.
(6) In addition, you have the possibility to assign an individual column title to each field.
Select a field in your configured list, then enter a “Column Title” in the input field to change the standard.
Note: For certain fields (e.g. „Functions“) an additional value must be entered to define this output field more clearly. In this case, a further input field („Value“) appears under „Column Title“ in which you enter the value.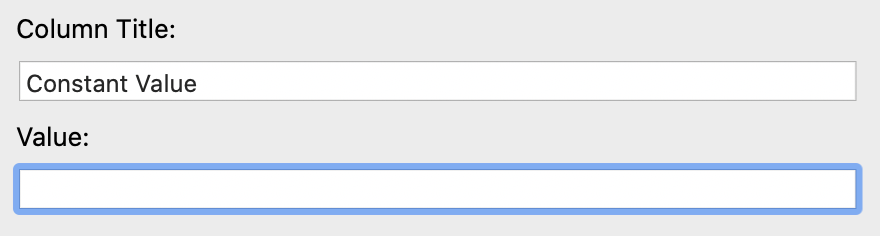
(7) In the lower area you will find the general „Settings“ (7) for your export. Use the drop-down menus to define different default settings.
Once you have configured your export, exit the editor with „OK“.