Create handles and handle strips

In order to use your own handle symbols in the Cabinet Maker (Classic) and the calculation correctly, you have to keep the following points in mind:
- The symbol must be stored in the symbol folder «Handles».
- You have to assign correct cutting list information.
- The handle must be correctly entered in the database.
Create symbol folder «Handles»
Handles must be stored in the symbol folder «Handles». If the folder is missing, you can create it by clicking on the button marked in the picture below.


Choose «Symbol folder...», enter the Folder Name «Handles» and press OK.

Drawing the Handle
Design a handle, for example a cylinder with the measurements 10x10x20.


Switch to the front standard view by clicking on the corresponding button in the palette «Views».
Double click on the tool «Circle» and enter the following values.


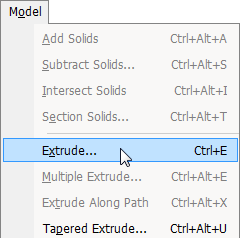
Press OK and place the circle in your drawing. Afterwards place a 2D Locus where the drillings will be located. Activate the circle and choose «Model > Extrude...».
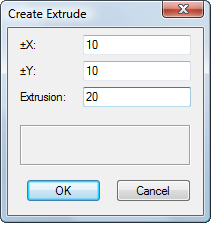
Enter the desired measurement, in this case 20mm.

Store drawn handles as symbols
Execute «Modify > Create Symbol...». Assign a name for your symbol.
Additionally check the option «Next Click».

Set insertion options of the symbol
Click on the button «Options...». Check in the cluster «Other Options» the option «Custom class» and choose the class «Handle».

Leave all open dialogs with OK and set the insertion point by clicking on the previously created 2D Locus.
Insert symbol into the symbol folder «Handles»
Choose in the following dialog the folder «Handles».
Click on the button OK. The handle is deleted from the drawing and stored in the symbol folder.
Assigning Cutting List and Calculation Data
Edit symbol
Double-click the folder «Handles» in the Resource Browser. Right-click the handle and select «Edit...» from the menu. Edit the «3D Component».

Click OK. The symbol is shown in the drawing.
Assign material
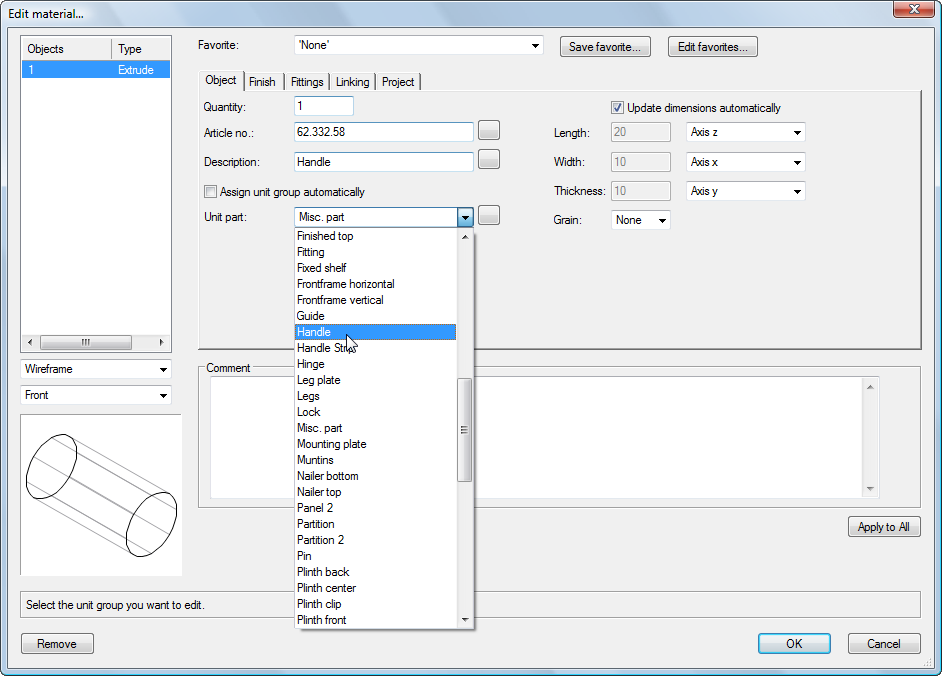
Execute «interiorcad > Edit Construction».

Disable the option «Assign unit group automatically». Choose from the drop-down menu the unit part «Handle»
Enter the Article number, in this case «62.332.58». Choose a description or enter one into the text field.
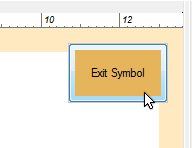
Confirm the dialog and exit the symbol by clicking on the orange button in the upper right.
The handle is now available as a symbol and can be used for your unit.
Enter handle into the database to make it available in the calculation
To include the handle in your calculation, you have to enter the article number and price into the database.
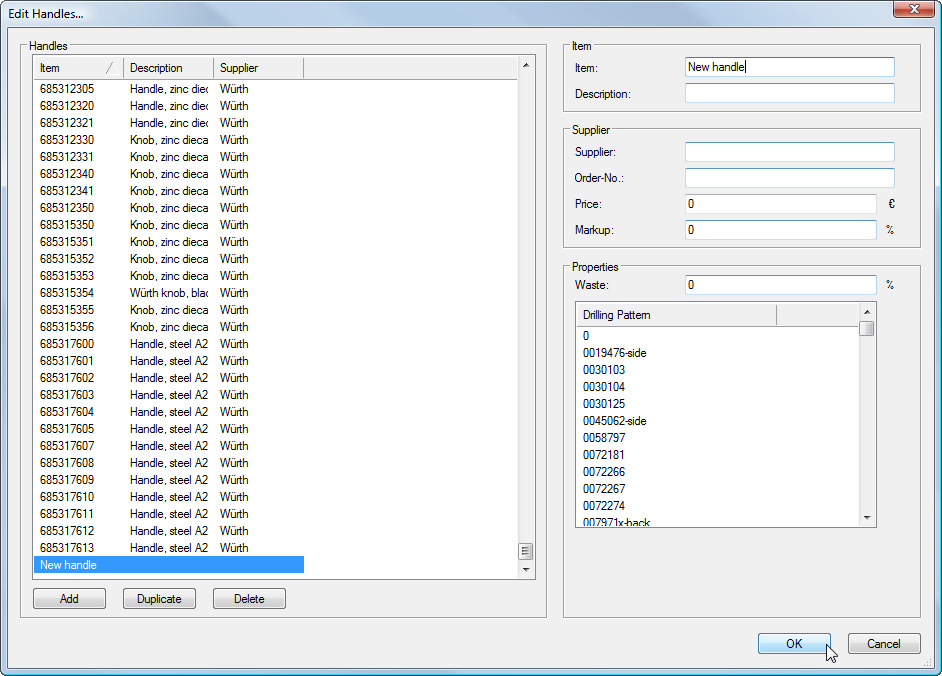
Choose «interiorcad > Master Data > Edit Handles».

Add the the created handle to the list of handles.