Basics of calculation: Adjust the calculation to your company
You can change the values used for costing directly in interiorcad powered by Vectorworks.
Managing Prices and Surcharges
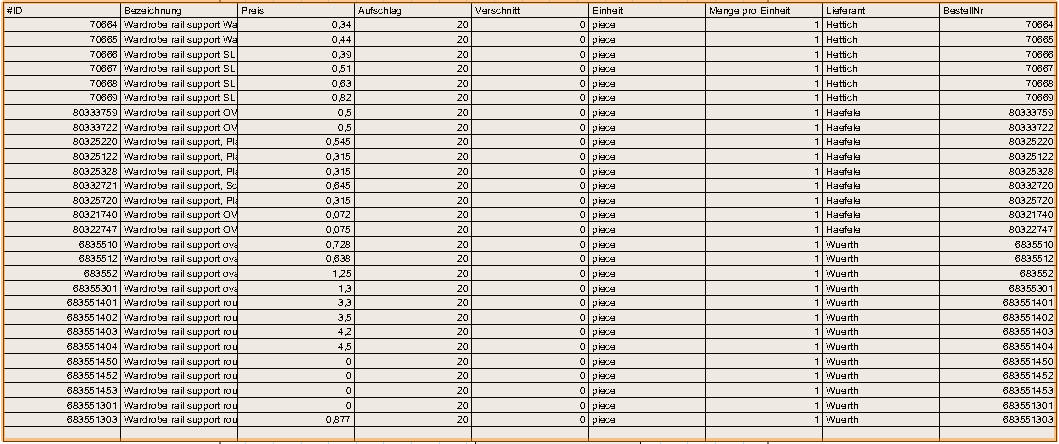
Manage prices and surcharges for materials by selecting the desired entries for editing from the «interiorcad > Master Data» menu. For example, to edit the list of boards, choose «interiorcad > Master Data > Edit Boards...». A list of available boards materials will appear:
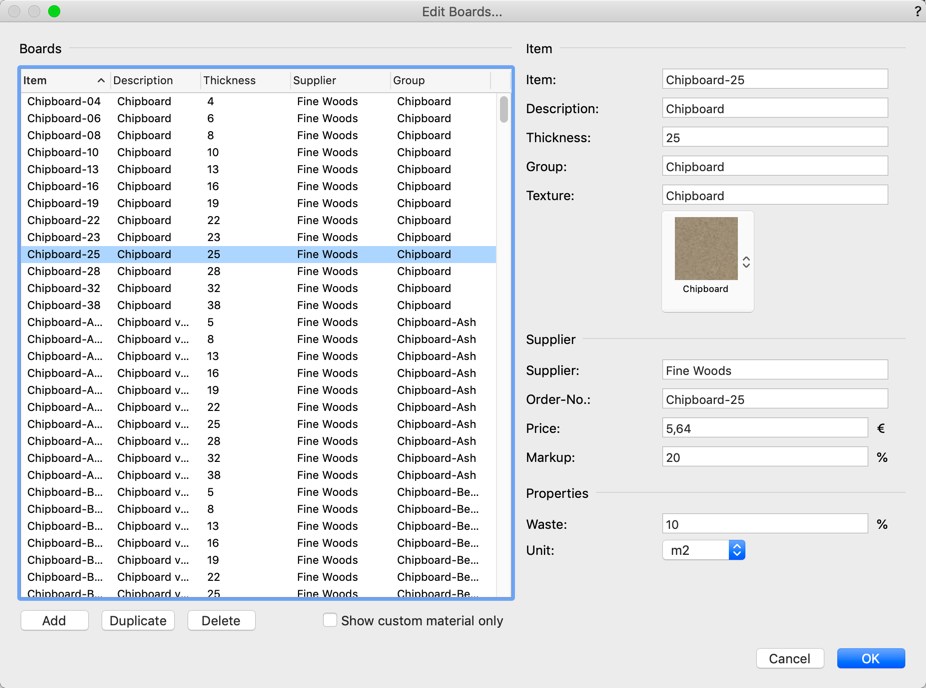
Edit, delete or duplicate existing entries or add new entries. If you have created custom materials, you can restrict the display to them.
To open the editing dialog, select an entry from the list. Make the desired changes in the right column of the dialogue and select another item, which should be changed. Click «OK» to confirm your changes.

Managing Cost Centers: Differentiate cost depending on order type
interiorcad can manage different cost centers precisely and efficiently. Cost centers can be summed up into different sets so you can work with different margins for different products like solid wood furniture, coated or veneered furniture.
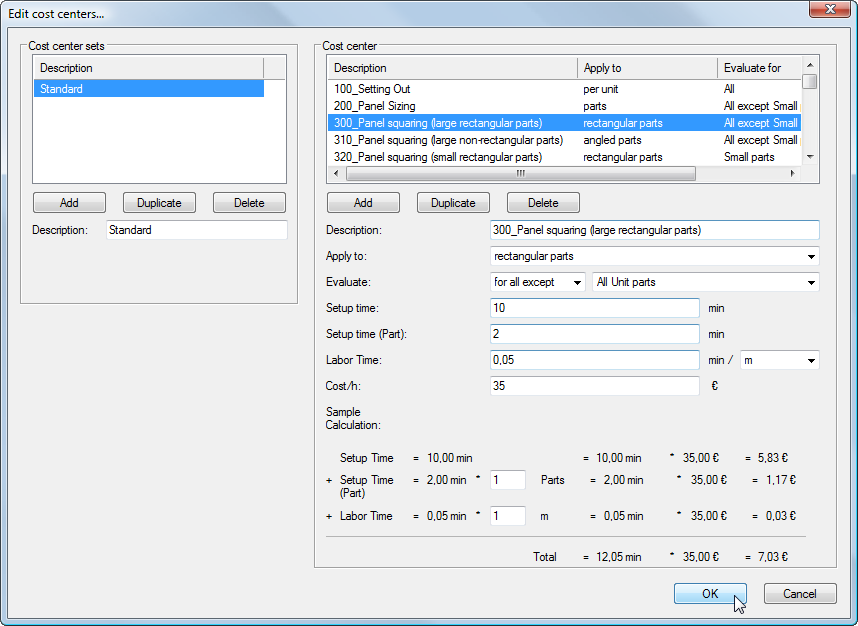
Cost center sets and cost centers can be managed by choosing «interiorcad > Master Data> Edit Cost Centers...». You can create any number of cost center sets, or use any of the default ones:
Add a new set, duplicate or delete an existing set, or edit existing sets.
For example, it is possible to create one set of cost centers which can break even, one standard set, and one set with raised hourly rates to cover the costs for unpredictable materials or working hours.

Select the desired set to display all cost centers in the right column of the dialogue.
Add new cost centers or edit, delete or duplicate existing ones. Select the cost center to be edited from the list and edit the values in the right column:
The following settings are available for all cost centers:
Description
A description of the cost center.
Setup time
Setup time for this cost center.
Setup time (part)
Setup time (part) is irregularly distributed time during which the workpiece is not worked upon; for example drinking or picking up fallen pieces.
Labor time (in minutes)
Time needed to produce unit quantity.
Labor time per unit
This pull-down menu lets you select which unit is used as the calculation basis for labor time. The values depend on the selected unit.
Cost/h
This is equivalent to the cost center’s hourly rate which can be derived from your company’s cost and revenue statement.
Apply to
Define the quantity of reference for the cost center.
Evaluate
Apply a cost center to parts belonging to a certain unit group only.
Click «OK» to confirm and close all dialogs.
Import Materials: Update Materials and Material Prices Automatically From CSV and Datanorm files
For importing materials and new prices for materials and fittings please choose interiorcad > Master Data > Import Materials...

Choose a CSV or Datanorm 4 file from your hard disk and choose the Destination table in interiorcad. You can choose between different import modes: Data sets can be overwritten, new datasets can be added or prices can be updated.
If your import files contain headlines adjust the value Import starts in line from 0 to 1.
With Field and String delimiter you define the import file format.
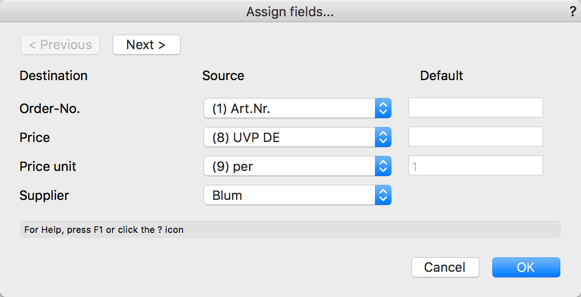
Click on the button Assign fields... to choose which field of the destination table should be connected to which field in the import file or to which default value.
All settings in the dialog (including the field assignments) can be saved as a favorite. This will make it much easier for you to update prices or to include new materials from a specific file offered by your supplier.
Managing Unit Groups: Determine how parts of units are assigned to unit groups
Adapt unit groups to personal preferences by creating new ones or editing existing ones. Hover the mouse over «interiorcad > Master Data > Edit Unit Groups...».
The following dialog opens:
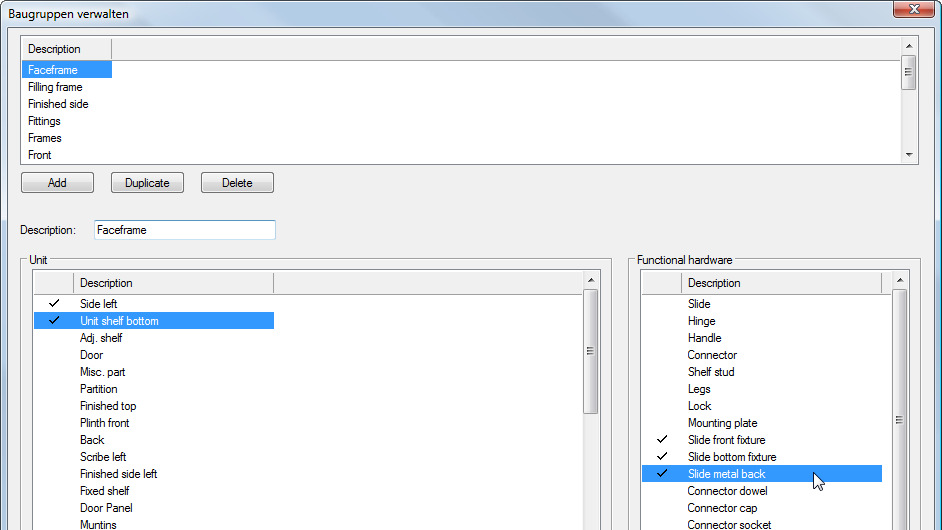
Now add, edit, duplicate, or delete entries. At the bottom of this dialog, you can assign parts to unit groups. Click «OK» to confirm and close the dialog.
Managing Surcharges
You can manage preset values for margin surcharges etc. by choosing «interiorcad > Settings > Preferences».
Tab «Add»: Define added lengths
Assign added lengths for the parts in the «Add» tab. The added length is added to the centers dimensions (board without edges)

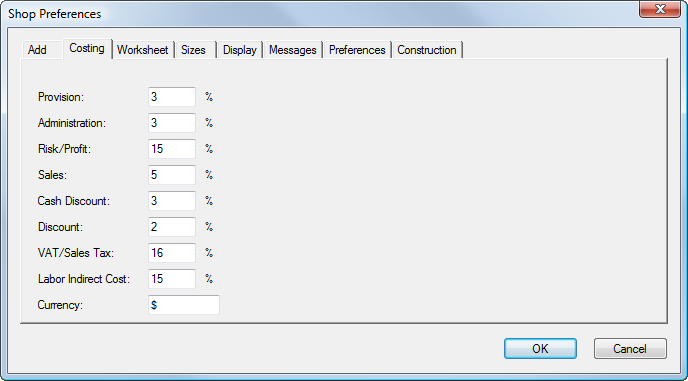
Tab «Costing»: Adjust surcharges
Assign different surcharges on the «Costing» tab, such as management, commission and margin surcharges.
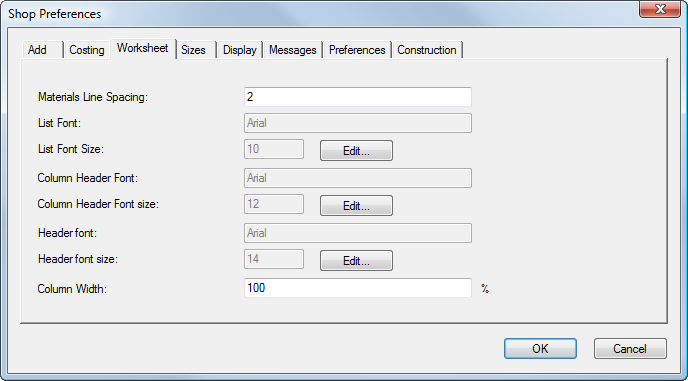
Tab «Worksheet»: Cutomize the layout of lists
Customize the layout of interiorcad lists in the «Worksheet» tab.
Enter a new value in «Column Width» to change the size of columns. The default value is 100%.
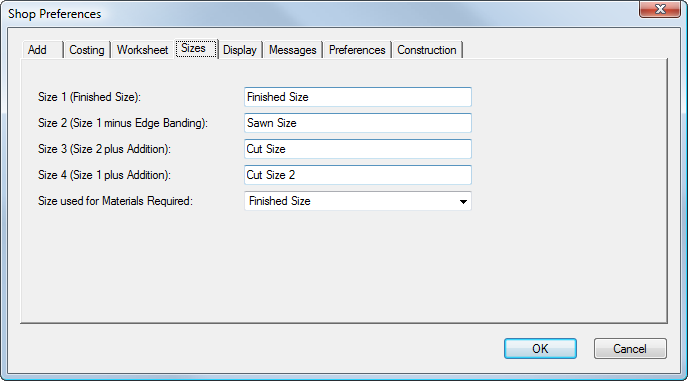
Tab «Sizes»: Define measurements
Assign names to the different dimensions and define which dimensions should appear on the cutting list in the «Sizes» tab.
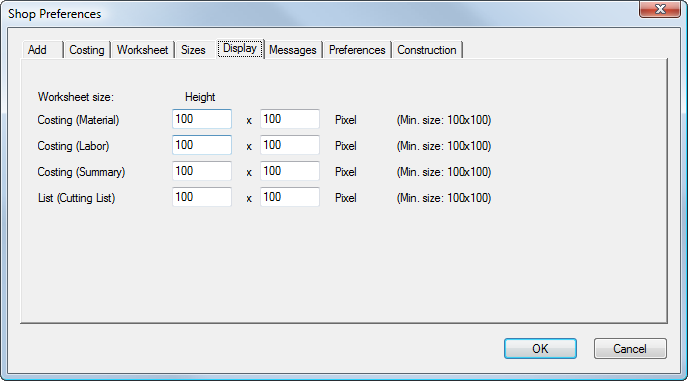
Tab «Display»: Adjust size of worksheets
Adjust the sizes of the different worksheets in the «Display» tab.
Tab «Preferences»: Set path for configuration file and master data
Enter the path to the configuration data on the «Preferences» tab. By default, it is stored in the «XG» folder in your user data. Here you can enter an alternative path, for example, to store configuration data on a server which can then be accessed from multiple workstations. This simplifies the updating of the database.
- Create a network drive to which you want to save shared data.
- Create a new folder, e.g. «interiorcad2012».
- Click «Choose» and select the new folder.
- Click «Migrate data from previous version». The data will be stored within the network.
- Using any other PC you will have to enter the network path.
- More information on network paths can be found within the chapter.
The master data path should be used to exchange data with your ERP software.

Tab «Construction»: Assign cup distance
Assign a company-specific cup distance for concealed hinges in the «Construction» tab. This value will be set as default.
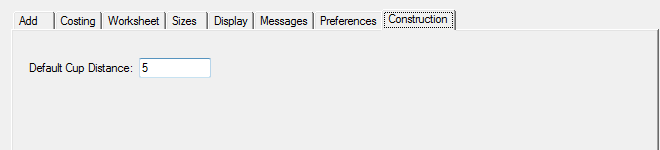
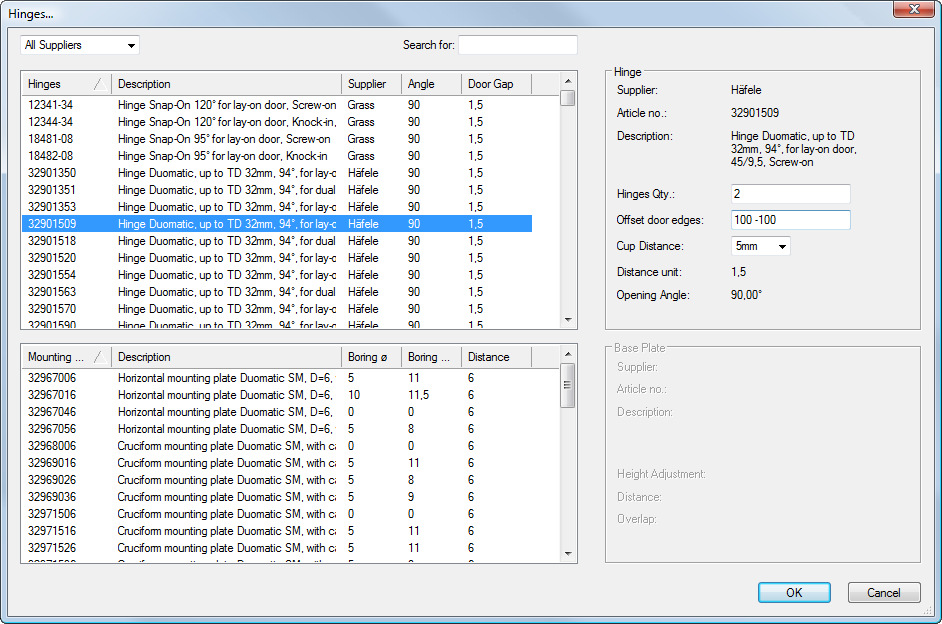
For example, in the hinges dialog, you do not have to enter the desired cup distance as it is now set at 5mm by default.
Show and print worksheets
If you would like to display a costing you previously closed, select the current drawing in the resource browser. Right-click the desired worksheet and select «Open»:

The worksheet is opened for editing:

If you select «Worksheet On Drawing» instead of «Open», the contents of the worksheet will be displayed on the drawing so it can be printed more easily:
It is possible to display all worksheets on the drawing in this manner. You can shift them within the drawing and organize them in different layers, so you can print required information on multiple sheets.
Additionally, you can turn the lines off by switching the Pen type to «None» in the «Attributes» palette.